Getting Started with Enabling the Pixel
To get started with enabling the Pixel on your website, you can follow the steps below.
-
Log in to Ads Manager. Then click the menu in the top corner and select Pixels.
-
Click Create Pixel, name your pixel, and click Create.
-
Select the ad accounts you’d like to share the pixel to by typing the ad account name in the search box.
-
In the top right, click the Set-Up Pixel button and select Pixel Code.
-
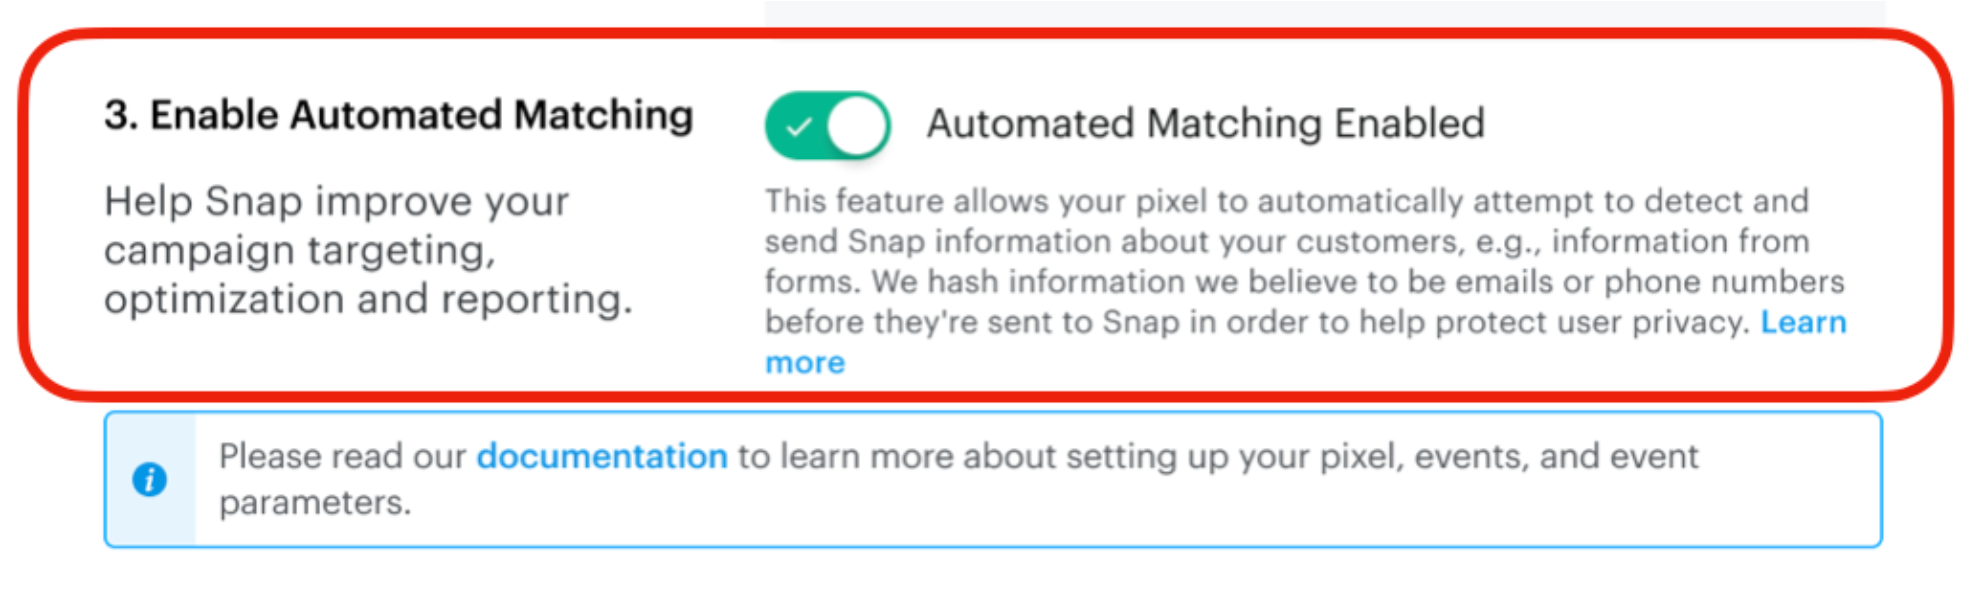
[Recommended] Enable the Automated Matching toggle.
If you use one of the listed integrations, please follow the linked guides; otherwise, this document contains info around implementing the code directly on your site.
Third Parties:
With all deployment options, for the best results it’s important to:
-
Pass user parameter data by manually configuring it in your Pixel
-
Fire at least 1 standard event
-
Configure appropriate optional parameters
-
Enable the Automated Matching toggle during Pixel set-up
Please Note:
-
User parameter data can only be passed in the init call
-
Only pass PURCHASE events on a page once (will affect ROAS reporting)
-
Be sure to pass price, currency, and transaction_id with PURCHASE events
Learn More: